认识HTML5物理引擎P2
P2是一款基于Javascript编写的HTML5 2D物理引擎,和Box2D、Nape等2D物理引擎一样,P2集成了各种复杂的物理公式和算法,可以帮助我们轻松的实现碰撞、反弹等物理现象的模拟。
拉登还是很推荐P2的。
首先,也是最主要的原因,在JavaScript物理引擎中,P2的执行效率要比Box2D等引擎要高。
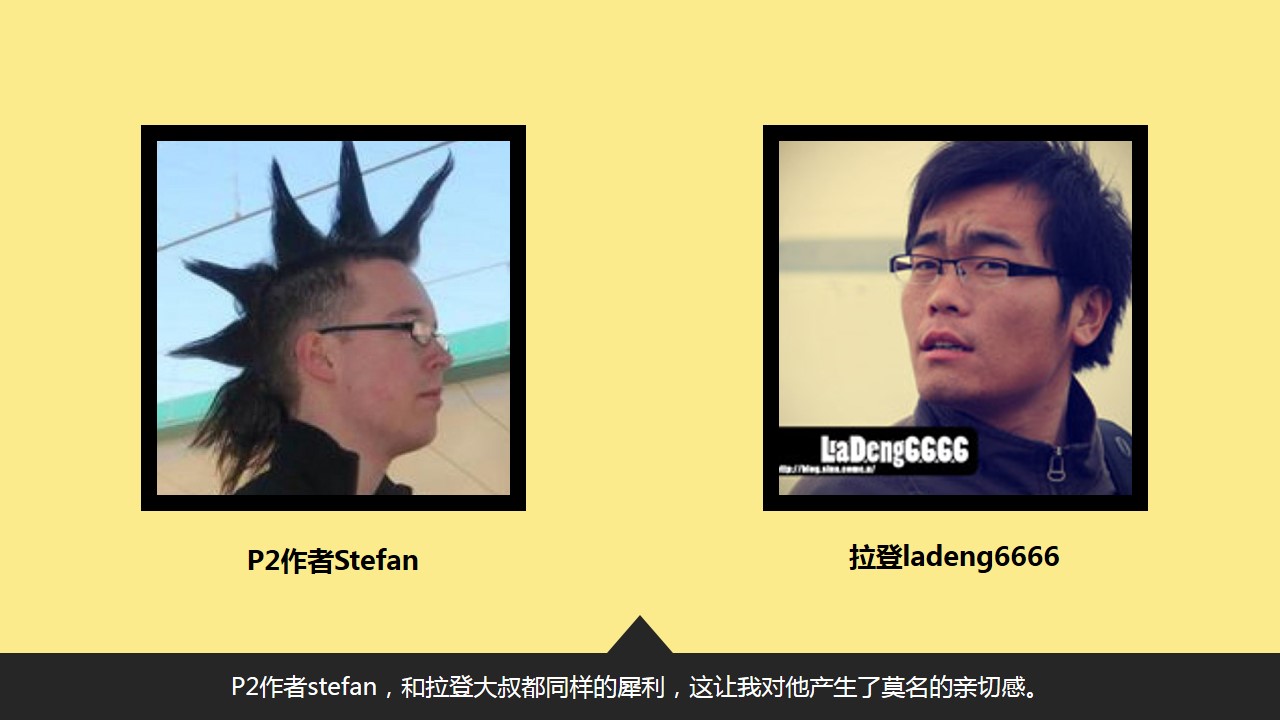
其次,P2作者stefan的头像,和我的头像都同样的犀利,这让我产生了莫名的亲切感。

P2的主要元素
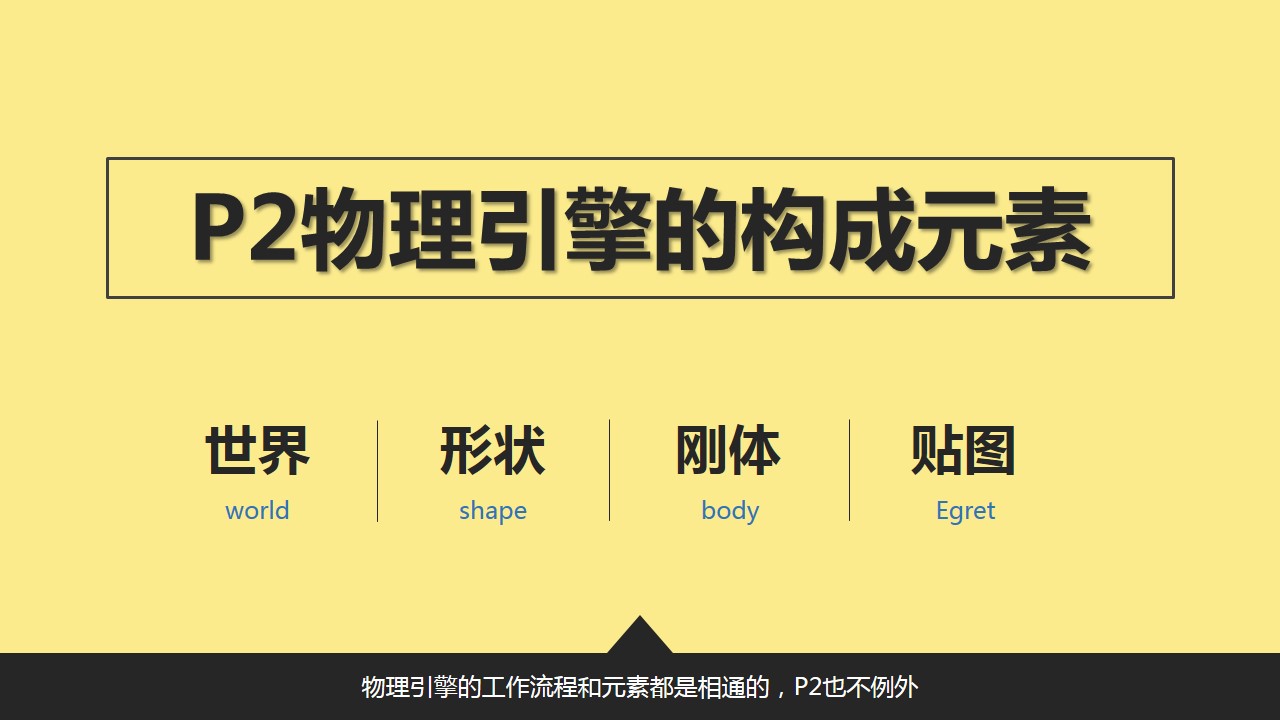
物理引擎的工作流程和元素都是相通的,P2也不例外,大致过程都是:世界->形状->刚体->渲染贴图

- 世界:world是P2物理引擎的入口,它类似于渲染引擎中的stage或显示对象。和addChild()函数一样,所有的物理对象都是必须通过addBody(),添加到P2的world世界中,才会进行物理模拟。
- 形状:物理游戏中进行碰撞模拟的一个前提,是有固定的形状,或者矩形,又或者圆形,或者不规则多边形,但这个形状必须是固定不变的。而类似于水这类液体的物理运动,因为没有固定的形状,无法使用P2进行模拟。
- 刚体:刚体是P2物理引擎的核心概念和对象,形状依附于刚体,将刚体添加到世界中,才能进行物理模拟,刚体是所有碰撞对象的原型。
- 渲染贴图:P2只是一个算法库,以刚体为对象模型,模拟并输出物理碰撞、运动结果。它本身不具备渲染功能,无法显示模拟的结果,而是要借助于JS渲染疫情,如Canvas、Cocos2dx、Pixi、phaser等渲染引擎,通过绘制或贴图来渲染物理模拟结果。
本系列教程,将基于Egret+P2来编写,如果你对Egret还不熟悉,请参考这篇文章,或者访问Egret官方网站,了解更多的内容。
开始使用P2
本教程使用Visual studio开发,所以开始之前针对开发环境,我们要做一些准备工作。
- 导入P2引擎库。这是一个比较大的坑,Egret没有推出官方的EgretVS配置第3放类库的教程,我是一路踩着狗屎过来的,大家引以为戒,别再踩着我的屎啦。Egret+Visual studio配置第3方类库教程,请参考这里。
- 使用P2DebugDraw调试试图。前面说过,P2并不支持渲染,拉登基于Egret引擎,模拟Box2D中的b2DebugDraw类,编写P2DebugDraw类,具体请参考稍后的示例代码。
这一节,我们学习创建一个简单的P2示例,在舞台上,点击任意位置,可以生成圆形或矩形的刚体,如下图所示:

创建示例的大致步骤如下:
1>调用CreateWorld()函数,创建P2世界对象World。
    private createWorld(): void {
        var wrd:p2.World = new p2.World();
        wrd.sleepMode = p2.World.BODY_SLEEPING;
        wrd.gravity = [0,10];
        this.world = wrd;
    }
wrd对象的sleepMode参数,表示是否允许刚体睡眠,来跳过对静止刚体的模拟,这里设置为BODY_SLEEPING,允许刚体睡眠。
wrd对象的gravity属性是一个数组类型的向量,数组中的元素分别表示向量在x和y轴上的分量。x正数向右,y正数向下。
2>调用createGround()函数,创建地板刚体
    private createGround(): void {
        var stageHeight:number = egret.MainContext.instance.stage.stageHeight;

        var groundShape: p2.Plane = new p2.Plane();

        var groundBody: p2.Body = new p2.Body();
        groundBody.position[1] = stageHeight-100;
        groundBody.angle = Math.PI;
        groundBody.addShape(groundShape);

        this.world.addBody(groundBody);
    }
首先,创建一个Plane(具体后续会陆续讲解)类型的形状goundShape,以及刚体groundBody。接着设置刚体的坐标position和角度angle。最后通过addShape()将形状添加到刚体中,通过addBody()将刚体添加到world中,完成刚体的创建。
3>调用createRectangle()函数,创建刚体
createRectangle()中的代码与createGround()基本相同,只不过形状换成了Rectangle,更多关于形状的内容,稍后进行讲解。
4>创建调试视图debugdraw
    private createDebug(): void {
        egret.Profiler.getInstance().run();
        //创建调试试图
        this.debugDraw = new p2DebugDraw(this.world);

        var sprite: egret.Sprite = new egret.Sprite();
        this.addChild(sprite);
        this.debugDraw.setSprite(sprite);
    }
使用自定义的p2DebugDraw()来,创建一个调试视图,并通过sprite对象渲染出来。
5>侦听鼠标事件,当鼠标点击时,再次创建刚体
6>在游戏帧频事件loop中,更新p2世界和调试视图
    private loop(): void {
        this.world.step(60 / 1000);
        this.debugDraw.drawDebug();
    }
和其他的物理引擎一样,p2也通过不断的调用world对象的step()函数,来更新物理模拟。
然后在通过调用自定义p2DebugDraw类的drawDebug()函数,就可以看到物理模拟的结果了。
完整的代码如下:
class Main extends egret.DisplayObjectContainer {

    private loadingView:LoadingUI;
    private debugDraw: p2DebugDraw;
    private world: p2.World;

    public constructor() {
        super();
        this.addEventListener(egret.Event.ADDED_TO_STAGE, this.onAddToStage, this);
    }

    private onAddToStage(event:egret.Event) {
        this.removeEventListener(egret.Event.ADDED_TO_STAGE, this.onAddToStage, this);
        this.addEventListener(egret.Event.ENTER_FRAME, this.loop, this);

        //鼠标点击添加刚体
        this.stage.addEventListener(egret.TouchEvent.TOUCH_BEGIN, this.addOneBox, this);

        this.createWorld();
        this.createGround();
        this.createBodies();
        this.createDebug();
    }
    private createWorld(): void {
        var wrd:p2.World = new p2.World();
        wrd.sleepMode = p2.World.BODY_SLEEPING;
        wrd.gravity = [0,10];
        this.world = wrd;
    }
    private createGround(): void {
        var stageHeight:number = egret.MainContext.instance.stage.stageHeight;
        var groundShape: p2.Plane = new p2.Plane();
        var groundBody: p2.Body = new p2.Body();
        groundBody.position[1] = stageHeight-100;
        groundBody.angle = Math.PI;
        groundBody.addShape(groundShape);

        this.world.addBody(groundBody);
    }
    private createBodies(): void {
        var boxShape: p2.Shape = new p2.Rectangle(100, 50);
        var boxBody: p2.Body = new p2.Body({ mass: 1, position: [200, 200] });
        boxBody.addShape(boxShape);
        this.world.addBody(boxBody);

        var boxShape: p2.Shape = new p2.Rectangle(50, 50);
        var boxBody: p2.Body = new p2.Body({ mass: 1, position: [200, 180],angularVelocity:1 });
        boxBody.addShape(boxShape);
        this.world.addBody(boxBody);
    }

    private createDebug(): void {
        egret.Profiler.getInstance().run();
        //创建调试试图
        this.debugDraw = new p2DebugDraw(this.world);

        var sprite: egret.Sprite = new egret.Sprite();
        this.addChild(sprite);
        this.debugDraw.setSprite(sprite);
    }
    private loop(): void {
        this.world.step(60 / 1000);
        this.debugDraw.drawDebug();
    }
    private addOneBox(e: egret.TouchEvent): void {
        var positionX: number = Math.floor(e.stageX);
        var positionY: number = Math.floor(e.stageY);

        if (Math.random() > 0.5) {
            //添加方形刚体
            var boxShape: p2.Shape = new p2.Rectangle(Math.random() *150 + 50, 100);
            var boxBody: p2.Body = new p2.Body({ mass: 1, position: [positionX, positionY], angularVelocity: 1 });
            boxBody.addShape(boxShape);
            this.world.addBody(boxBody);
        }
        else {
            //添加圆形刚体
            var boxShape: p2.Shape = new p2.Circle(50);
            var boxBody: p2.Body = new p2.Body({ mass: 1, position: [positionX, positionY] });
            boxBody.addShape(boxShape);
            this.world.addBody(boxBody);
        }
    }
}
源代码下载地址
http://pan.baidu.com/s/1gdhFmvx
下集预告:P2刚体属性详解,加刚体贴图
联系作者
代码看起来不像js
恩是的,Egret是基于TypeScript语言的,最终会编译成JS代码,在HTML中运行,对于JavaScript而言,P2还是不错的物理引擎选择!
真的很感谢 最近我一直在鼓捣egret 你的文章挺好
感谢支持,我会努力做出更多好看的教程,谢谢!
写的很清晰,刚接p2,能看明白
下载了源码无法运行
无法运行,具体是怎么个无法运行?报什么错误?
p2.body.toworldframe.并没有这个函数
请下载使用教程源代码中的p2.d.ts,Egret官方的p2.d.ts中API很不全面,我会一边写教程,一边完善!
P2和Nape,新手应该学哪个呢?
看你想用什么平台了。H5就用P2,Flash就用Nape
手机浏览器运行,貌似帧掉的很厉害
试着用一下QQ浏览器,它内置了egret runtime,效率会好一些!
gravity属性,在p2坐标系中,y正数向上
y为正数时,p2中的重力是向下的啊,你测试的结果是向下的吗?
请问一下博主,为什么用了你的myLibs/p2Physics 里面的p2.d.ts 文件以后,编译也正常通过了,依然还是找不到 toworldframe 这个函数!
看一下项目文件夹下的libs->p2->p2.d.ts里,有没有定义这个函数,如果我分析的原因不对,可以加我微信交流。
请问一下关于不规则形状,怎么整。
请加入我的物理游戏QQ群:334059644,我们详细的沟通,谢谢。